
Found an extremely cosmetically damaged switch lite selling for C$80. The owner was a heavy smoker and the witch was largely abandoned until his dog found it and chewed it until not even his mom would recognize its face.
Even that terrible cosmetic condition, he assured me the console still worked perfectly. After paying him 80 bucks and running a few tests I confirmed that It was indeed working just fine, but the poor thing was also very dirty inside.
I was already planning to fix it, but then I decided to go all in and make the best switch lite I possibly could within a reasonable budget.
**MAGNETIC STICKS:**
Stick drift was a big concern to me, so the first thing I bought was buying Guilikit’s Hall Joysticks. Those are stick replacements for both Joycons and SL, only instead of using a mechanical system to measure input, these use a magnetic sensor to track stick movement. This should in theory eliminate any possibility of stick drift in the console’s lifetime.
**LAMINATED SCREEN:**
The screen was the most exciting find. I was looking if there was any OLED mods floating online, but I wasn’t able to find anything I could confidently buy. What I did find, however, was a laminated screen for both regular and Lite versions of the Switch on AliExpress.
A laminated Screen does not have an air gap between the pixel and the plastic. That significantly improves viewing angles and eliminates light reflections inside that air gap, making the colors more accurate and overall image quality better.
The downside is that any impact on the plastic display will transfer directly to the pixel, making it easier to damage. A glass screen protector should help with extra protection. I can live with that.
**INTERNALS:**
The only internal modifications made was a new set of rubber membrane for all buttons as well as reapplying thermal paste, since the original paste was just gone entirely. I used Arctic’s MX-4 thermal compound bought straight from Amazon.
I had to take the entire switch apart and clean all the smokers dust and gunk inside of it. The poor fan was barely able to spin with that much dust and dog fur stuck in it.
**COSMETIC:**
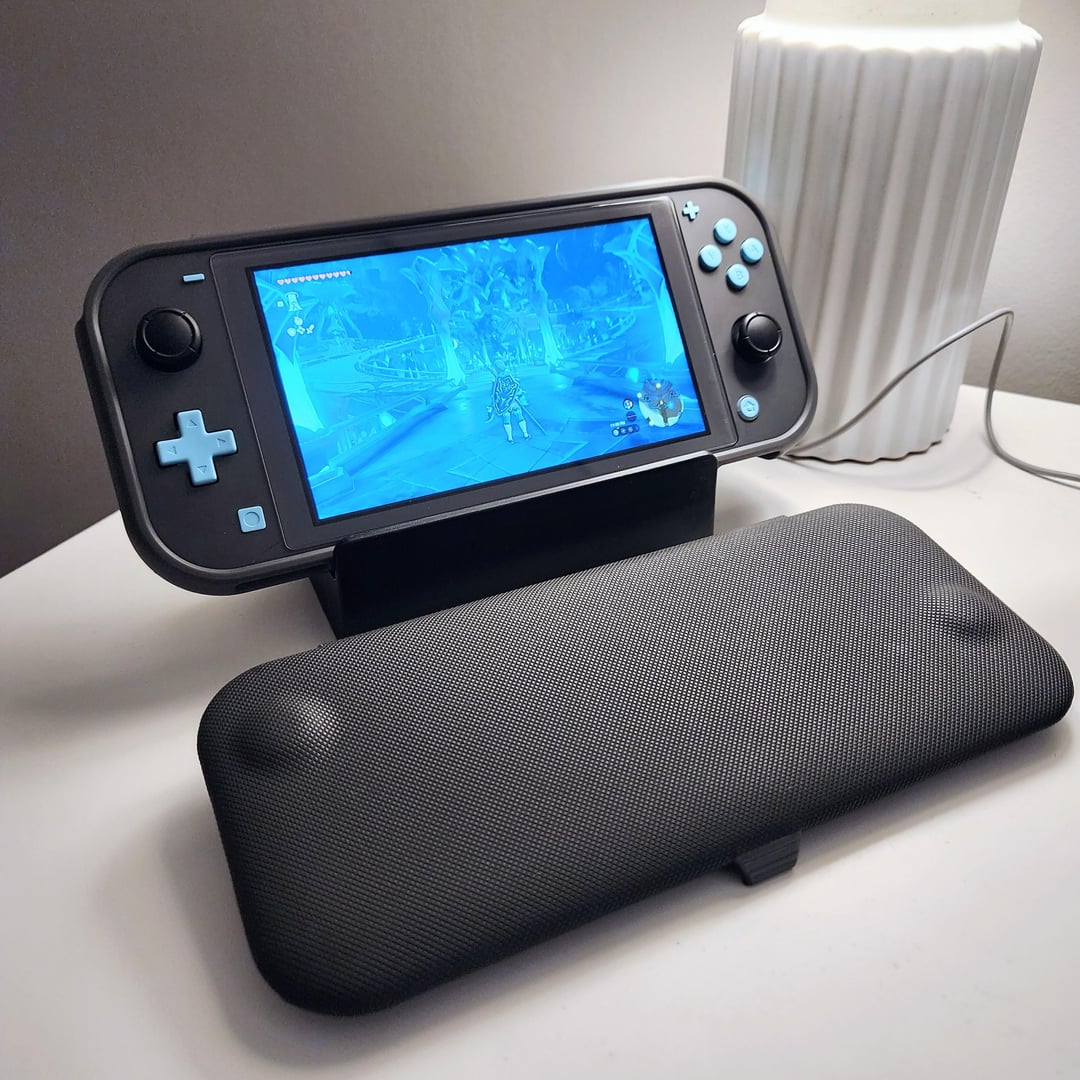
The shell and buttons were chewed off and scratched. Replacing those was not an option. Aliexpress had plenty of options for custom shells with unique colors, designs or even transparent ones. That’s cool and all, but I wanted to keep it simple and make it match my 2DS XL. So I bought the default grey shell with blue buttons. The colours don’t exactly match, but it’s close enough for me.
The last cosmetic item was a flip case that protects the entire device while not making it a lot thicker than it should. The extra grip pads help a lot with ergonomics and the detachable cover is very convenient.
Overall I’m very happy with the result and the final cost was still under the price of a brand new Switch Lite. Here are the prices:
– Damaged Switch Lite: C$80
– Hall Effect Joysticks: C$35
– Laminated Screen: C$45
– Replacement shell: C$10
– Buttons: C$5
– Thermal paste: C$12
TOTAL: C$187 or ~200 with tax.
A brand new Switch Lite in Canada is C$260 before tax.
I managed to save 60 bucks and end up with a better quality product in the end. I totally recommend these modifications. These do not require soldering at all and are fairly easy to do without any experience.